One year we got a fruit basket from one of Daddy’s customers and in that fruit basket was about a half-bushel of apples. There was no way a family of four could eat all of those apples straight out, especially when my little brother preferred tomatoes to apples. So, my 14 year old self endeavored to figure out what to do with them before they all became bad apples.
Enter my Apple Crisp.
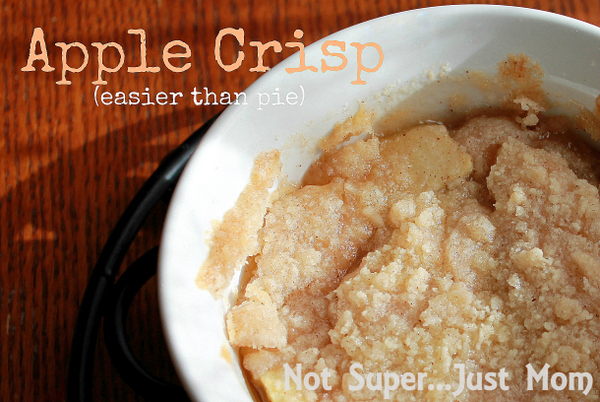
There’s a saying in my family: “If you want to find one of the women, look in the kitchen.”
It’s not misogynistic. It’s a fact.
All of the women in my family were blessed with the ability to cook/bake/feed the masses, body and soul. Over the years, Apple Crisp became a regular request for family dinners. It’s my go-to Fall/Winter dessert because it’s easy, delicious, uses in-season fruits, and did I mention easy?
Sometimes, we need to feed the soul a little more than the body, so I scaled down the recipe for my Apple Crisp so that if you should find yourself craving a delicious holiday dessert, you can make a single serving instead of an entire pan.
(The full recipe is at the bottom should you choose to make this for a larger group of people. Or a whole pan just for yourself. I won’t judge.)
Here’s what you’ll need:
- 1 medium apple
- 3 T sugar
- 2 T flour
- 1.5 T butter
- pinch cinnamon
- dash salt
- sprinkle of water
Preheat your oven to 350.
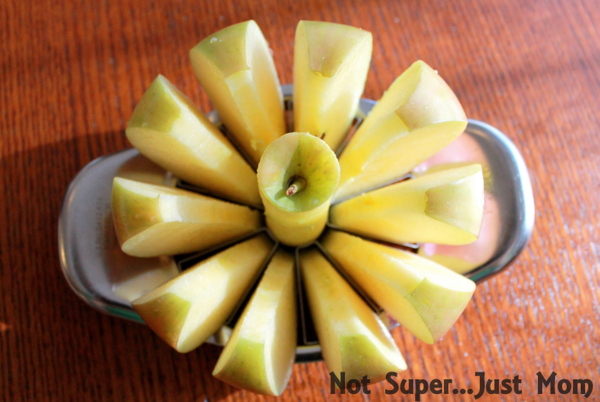
Core and wedge your apple. Fuji, Granny Smith, Honey Crisp, Pink Lady, or maybe even Gala are the best for baking. The crispier the apple, the better. Red and Golden Delicious are mushier apples by nature and don’t stand up to heat and baking as well as the pink/green varieties.
After you core and wedge your apple, peel the wedges.
Take the 1.5 tablespoons of butter and rub the butter around the baking dish you’ll be using. (I used a 16 oz. Corningware ramekin.) You just want a light coating of butter to keep everything from sticking.
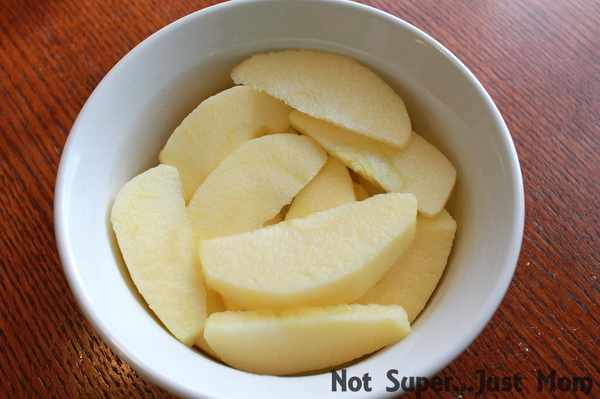
Arrange your apple slices in your buttered baking dish, like so. Sprinkle just a tiny bit of water on the apples.
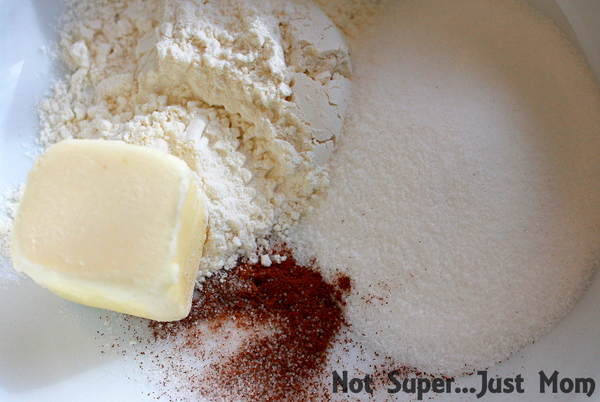
Dump your crisp topping into a bowl. I tried to use a pastry dough cutter to cut this together, but quickly realized my heathen way of doing this was much, much better.
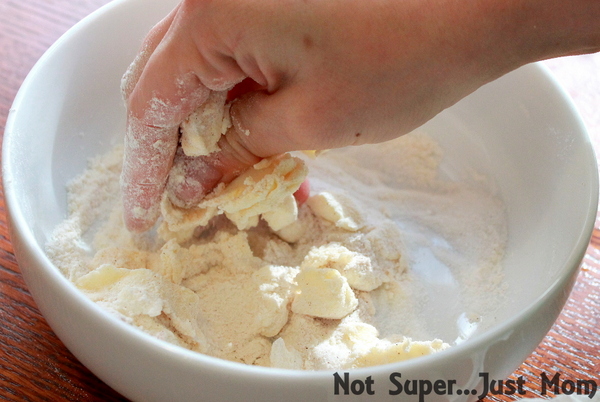
Wash your hands and mix this with your fingers. Pinch the butter into the flour/sugar/cinnamon mixture until you have what resembles coarse crumbs.
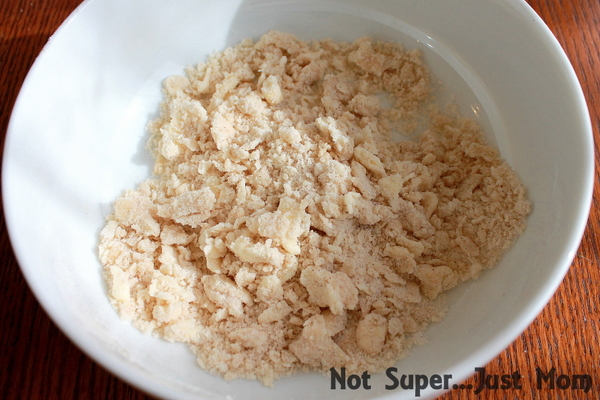
Please try not to eat the crumbs straight out of the bowl. Licking your fingers is acceptable.
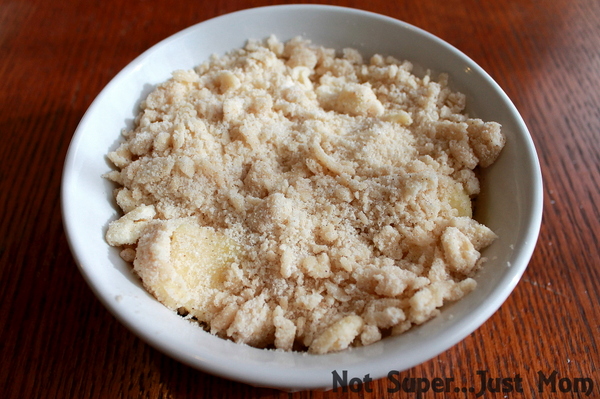
Dump your crumbs on top of the apples and arrange. Push some of the crumbs down in between the apples. Put this into your now pre-heated oven and bake for 20 to 30 minutes.
20 minutes will get you firmer apples but a less-brown crust. 30 minutes will get you softer apples but a more-brown crust. This is completely personal preference, but I prefer softer apples and a more-brown crust, so I let mine bake for 30 minutes.
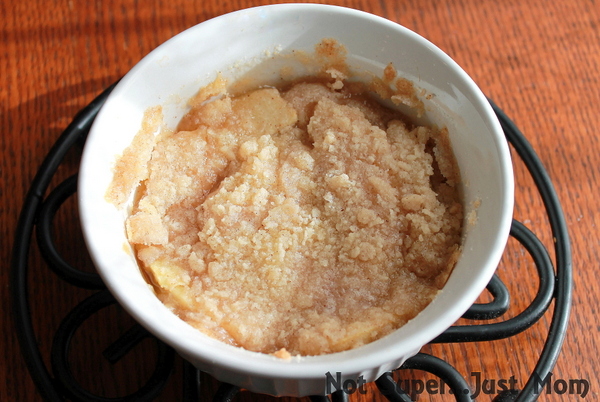
Let it cool slightly, but serve it while it’s still warm. A good vanilla bean ice cream makes a fantastic accompaniment for this dessert.
(But let’s be real. Ice cream makes everything–even things that are already perfect–slightly better, right?)
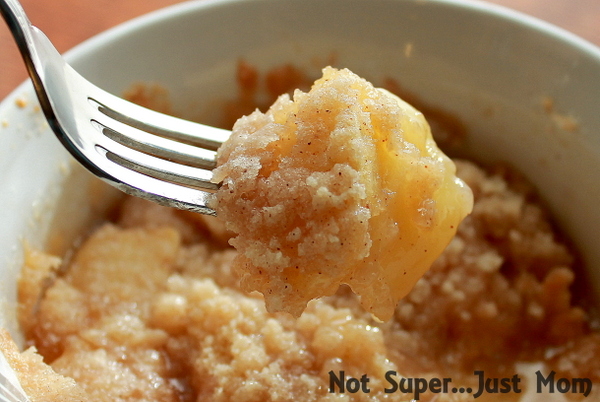
Ta-da! Done. Delicious. Amazing, slap-your-face tasty.
If you make this, let me know!
I hope you love this Apple Crisp as much as I love this Apple Crisp.
Full-sized ingredient list for those who want to make more than just a single serving:
- 5 cups apples, peeled, sliced
- 1 cup sugar
- 3/4 cup flour
- 1/2 t. cinnamon
- 1/4 t. salt
- 1/4 pound (1 stick) butter
- sprinkle of water
Follow the above assembly/baking directions, including baking temperature and time. And ice cream.

Natalie
Wednesday 28th of November 2012
I just found this today via Pinterest. I wasn't even that hungry, but I have very poor self-control, and it looked really good, soooo... Yeah, I made it... Absolutely delicious. Thanks!
Miranda
Thursday 29th of November 2012
Ah! I'm glad you liked it!
Morgan (The818)
Tuesday 27th of November 2012
Oh, hello Tonight's Dessert!
Jill @BabyRabies
Tuesday 27th of November 2012
Wow, Miranda! You're photos for this are great!
Miranda
Tuesday 27th of November 2012
Ah! I'm trying! Manual is way less scary than it was!
Mama
Monday 26th of November 2012
Yummmm. We didn't have this for Thanksgiving! How dare you tempt me.....lol
Miranda
Tuesday 27th of November 2012
I know. I should've made some. Maybe for Christmas.
Amy
Monday 26th of November 2012
Do you find peeling the wedges easier than peeling the apples and then coring/wedging it? I hate peeling apples and so I rarely make apple desserts. Which is a bummer for my husband because those are his favorite.
Miranda
Monday 26th of November 2012
Wedges are absolutely easier to peel than the whole apple. Definitely. That wedger/corer from Pampered Chef is my favorite thing I've ever bought from them next to my pizza stone.